Steps to install SnappyFlow RUM agent - Others
Any web application developed using javascript or javascript based frameworks.
Step 1: Install the sf-apm-rum agent
cd to the project directory and run the below command
npm install --save sf-apm-rum
Step 2: Create a project and application in Snappyflow portal
If a project and application is already created or discovered on the snappyflow portal, this step can be skipped and the same can be used in the sf-apm-rum agent configuration.
Create a project in snappyflow portal
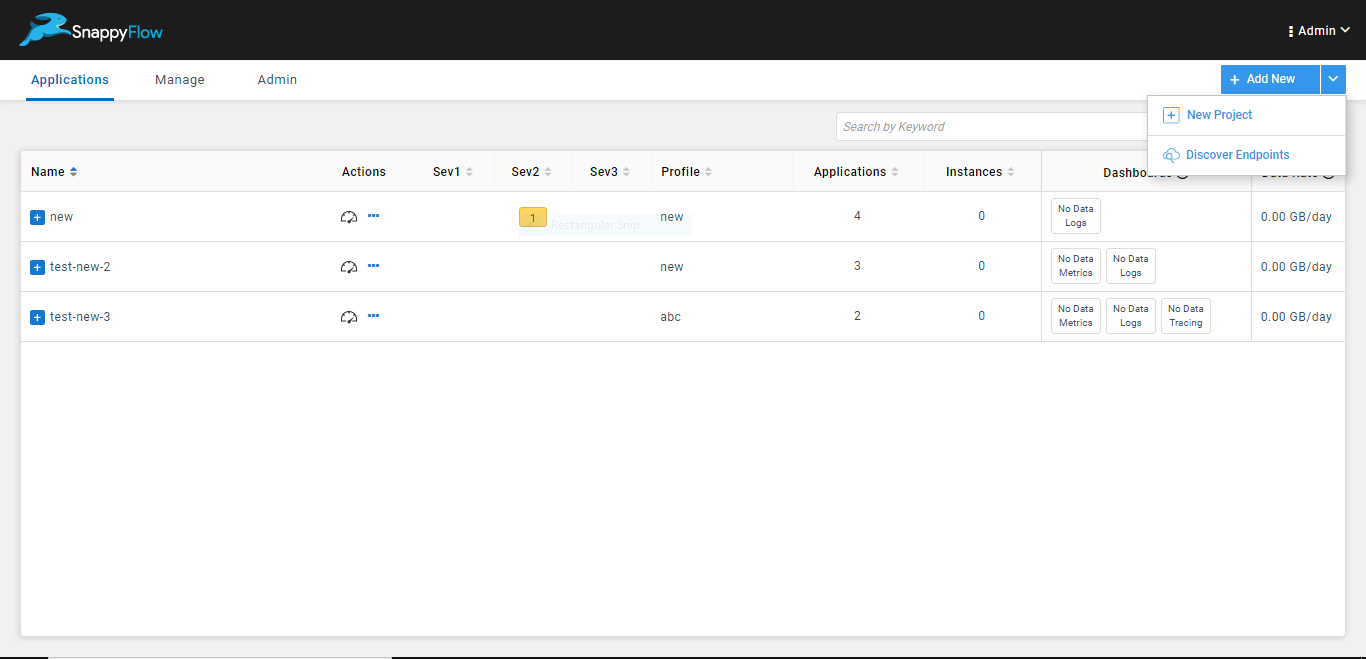
i. Click on + Add New in the snappyflow home page -> + New Project.
ii. Provide the required details -> Save & Close.
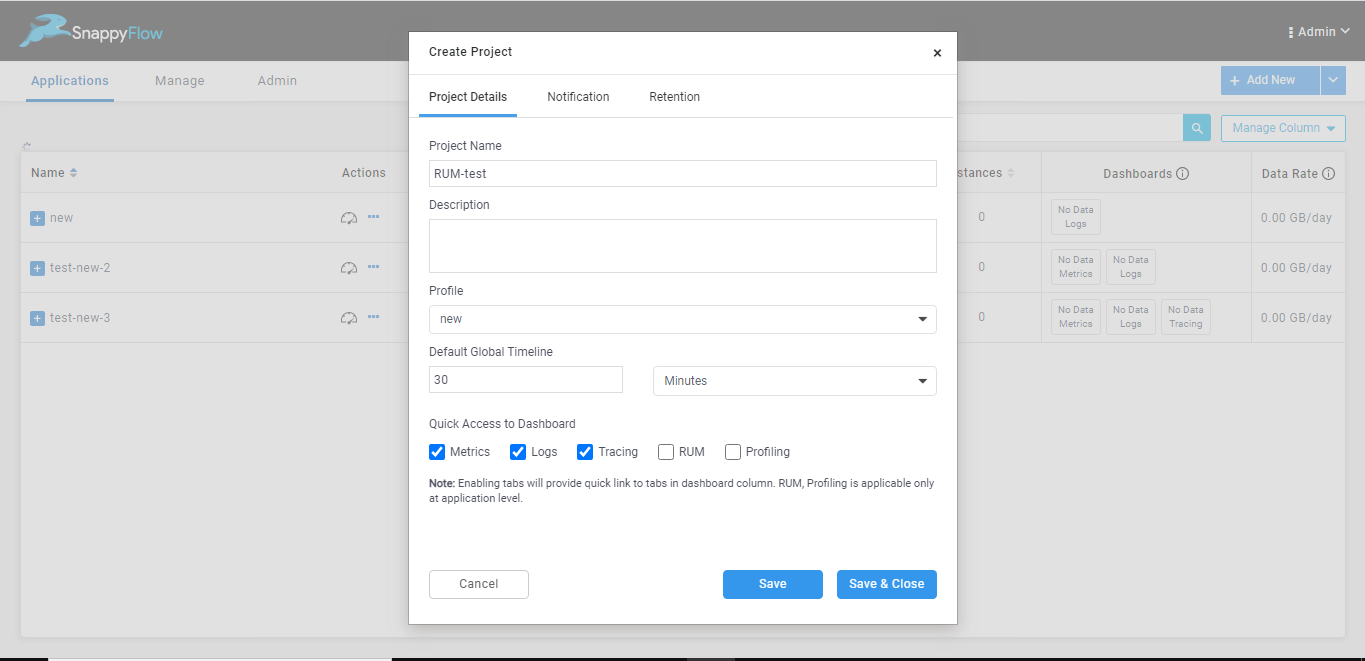
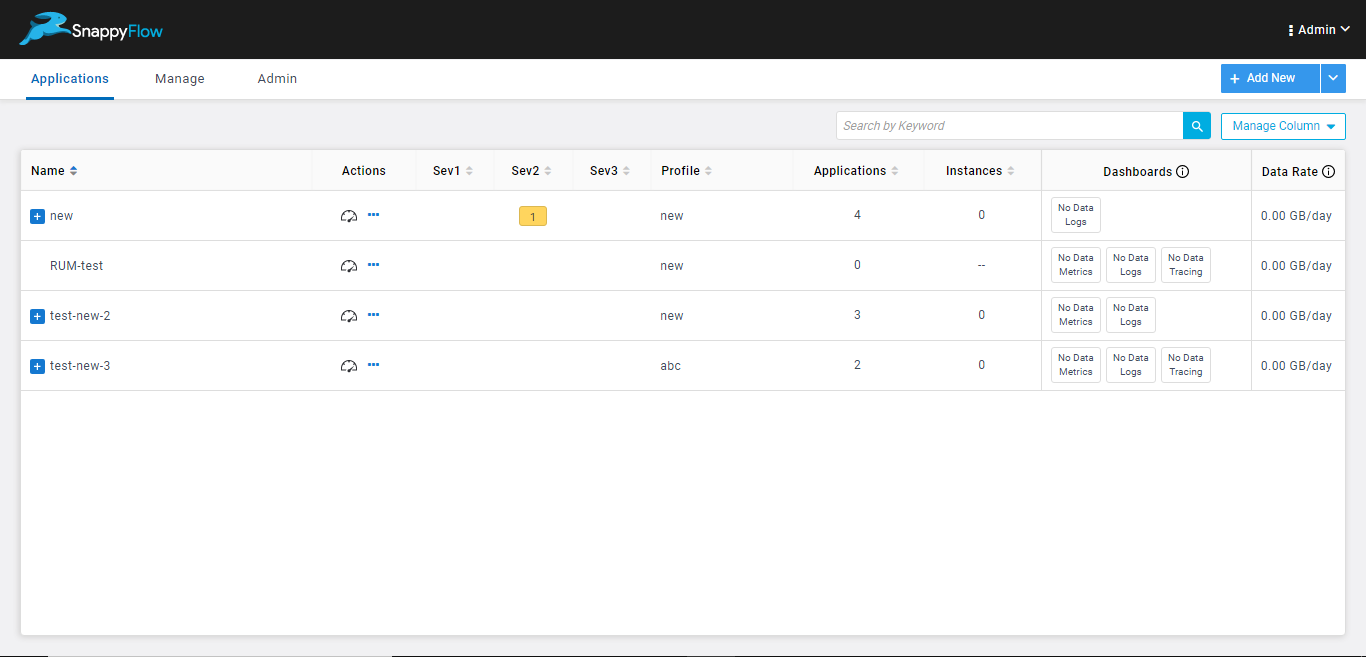
iii. The project will be created.
Create an application under the required project
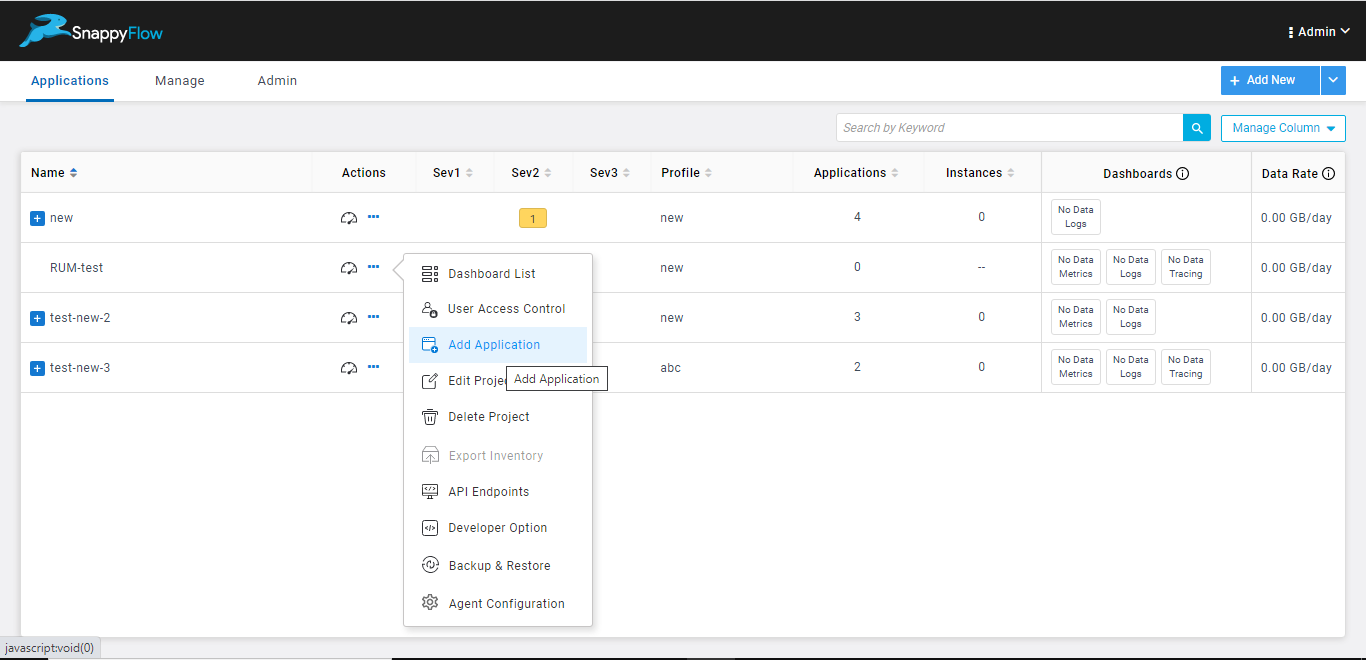
i. Click on the menu next to project name -> + Add application.
ii. Provide the required details -> Add.
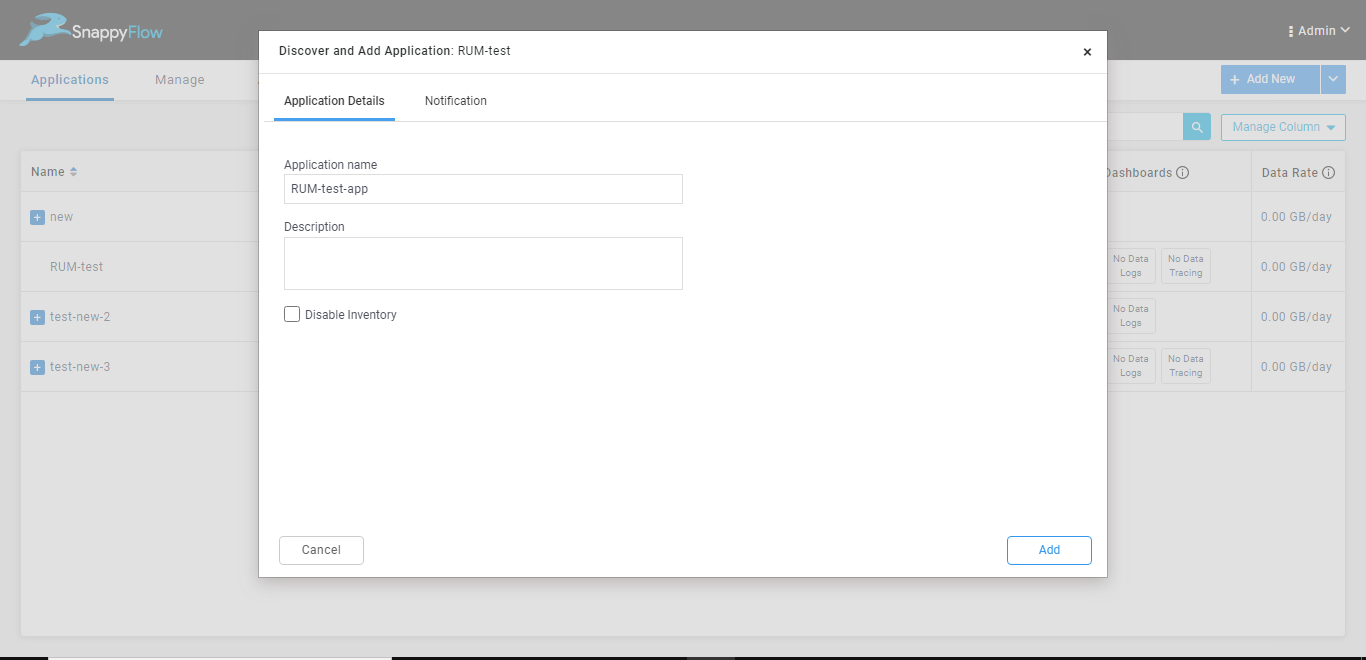
iii. The application will be created.
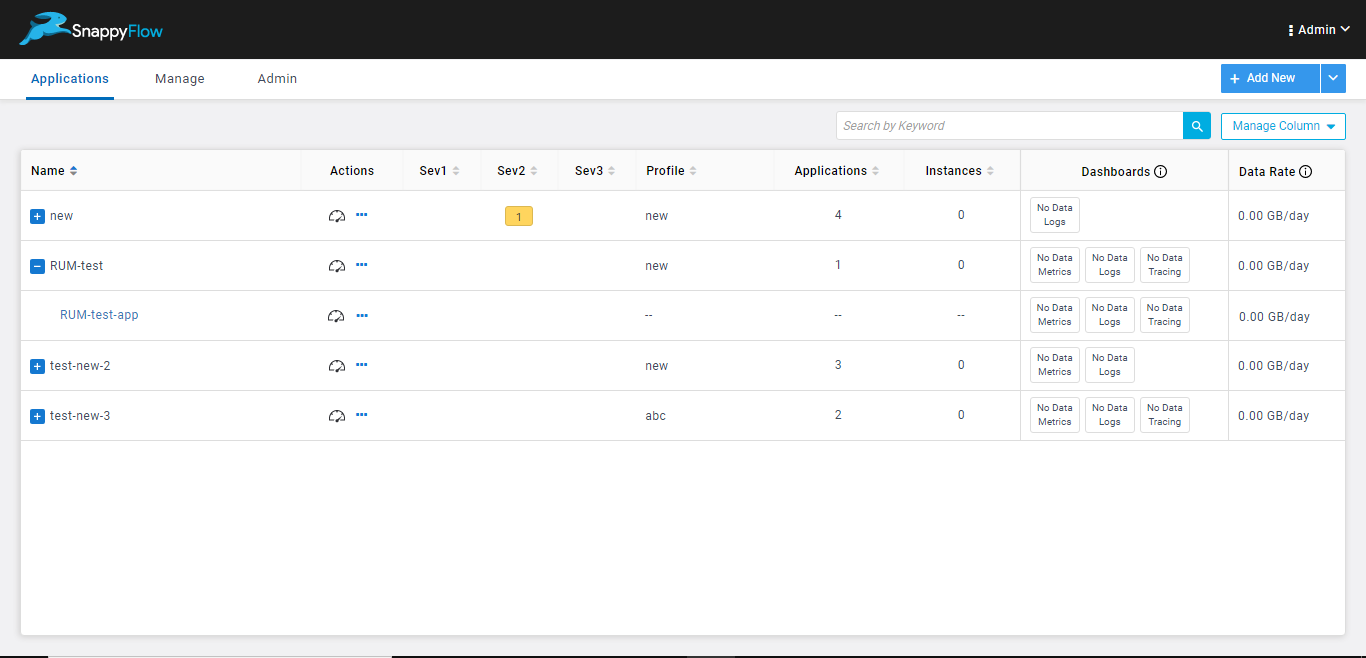
Use the above project name and application name in the sf-apm-rum agent configuration.
Step 3: Import the sf-apm-rum package
const sfApm = require('sf-apm-rum');
Step 4: Configure the sf-apm-rum agent
Add the following code in the applications root component.
let apmRum = new sfApm.ApmRum(); // initialize the library

const apmData = {
    baseUrl: '<add-snappyflow-server-url-here>', // provide the URL of the snappyflow APM server that you are using to view the data
    profileKey: '<add-profile-key-here>', // paste the profile key copied from SF profile
    serviceName: '<your-apm-service-name>', // specify service name for RUM
    projectName: '<add-project-name-here>', // provide the snappyflow project name from step 2
    appName: '<add-application-name-here>', // provide the snappyflow application name from step 2
};
apmRum.init(apmData);
Step 5: Verify the setup
Once the above mentioned steps are completed, restart the application and check for the RUM data in the Snappyflow APM server.
Click on View dashboard for the given application -> Click on Real User Monitoring Tab on left side bar -> Go to Real Time Pane.
Step 6: Debugging (In case of No Data in RUM Dashboard)
i. Check if data is available on the Snappyflow server
Navigate to the application dashboard -> Click on Browse Data -> Change the Index to "Real User Monitoring". Check if the data is available. If the data is available, it will be visible on the RUM Dashboard within few seconds.
ii. Check if the RUM data is sent from the configured application
Open the Developer tools for the configured web application on the browser -> Click on the Network Tab -> Trigger some actions in the application. Check if there is a intake/v2/rum/events call fired from the configured application side. If this call is made, it means that the data is being sent to the snappyflow server.
iii. Check if the configurations are correct
Check if the projectName and appName provided in the Step 4 are matching the project name and application name in the snappyflow server.